Title here
Summary here
Summary: Work in small sections, watch alignment, and check every run before moving the ladder.
The vast majority of what you need to know about installing puck tracks is covered in the “Before you install anything” section and on the “Lights” page in the “Installation” section.
This page primarily has tips and tricks for troubleshooting issues related to the puck tracks.
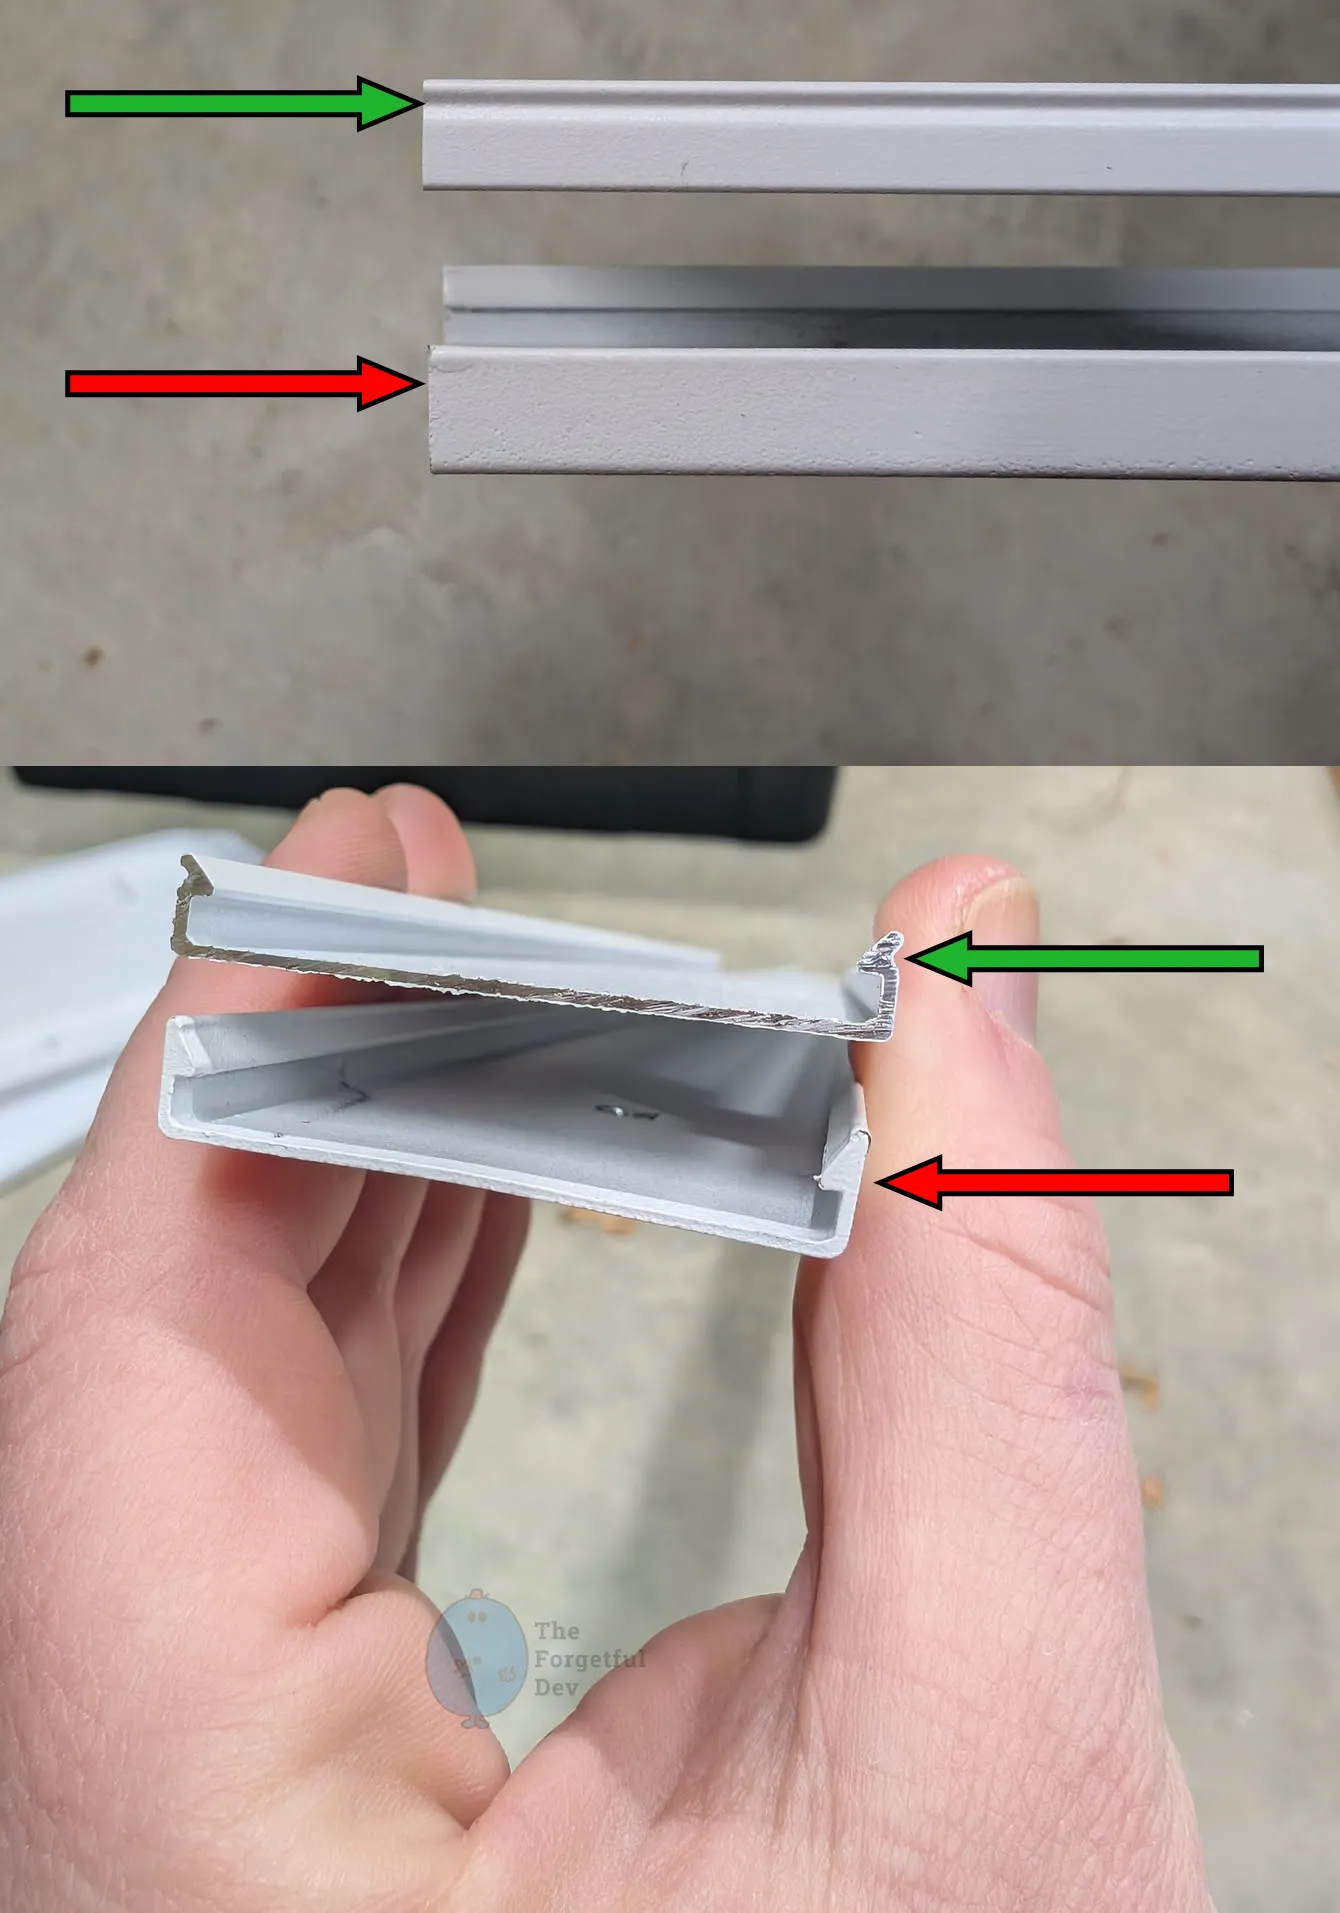
In short: the pucks just snap in to the puck track (foreshadowing: except when they don’t…). No screws, no glue, no magic.
Each puck is held in by four small clips that get pushed through the puck track from the inside out.
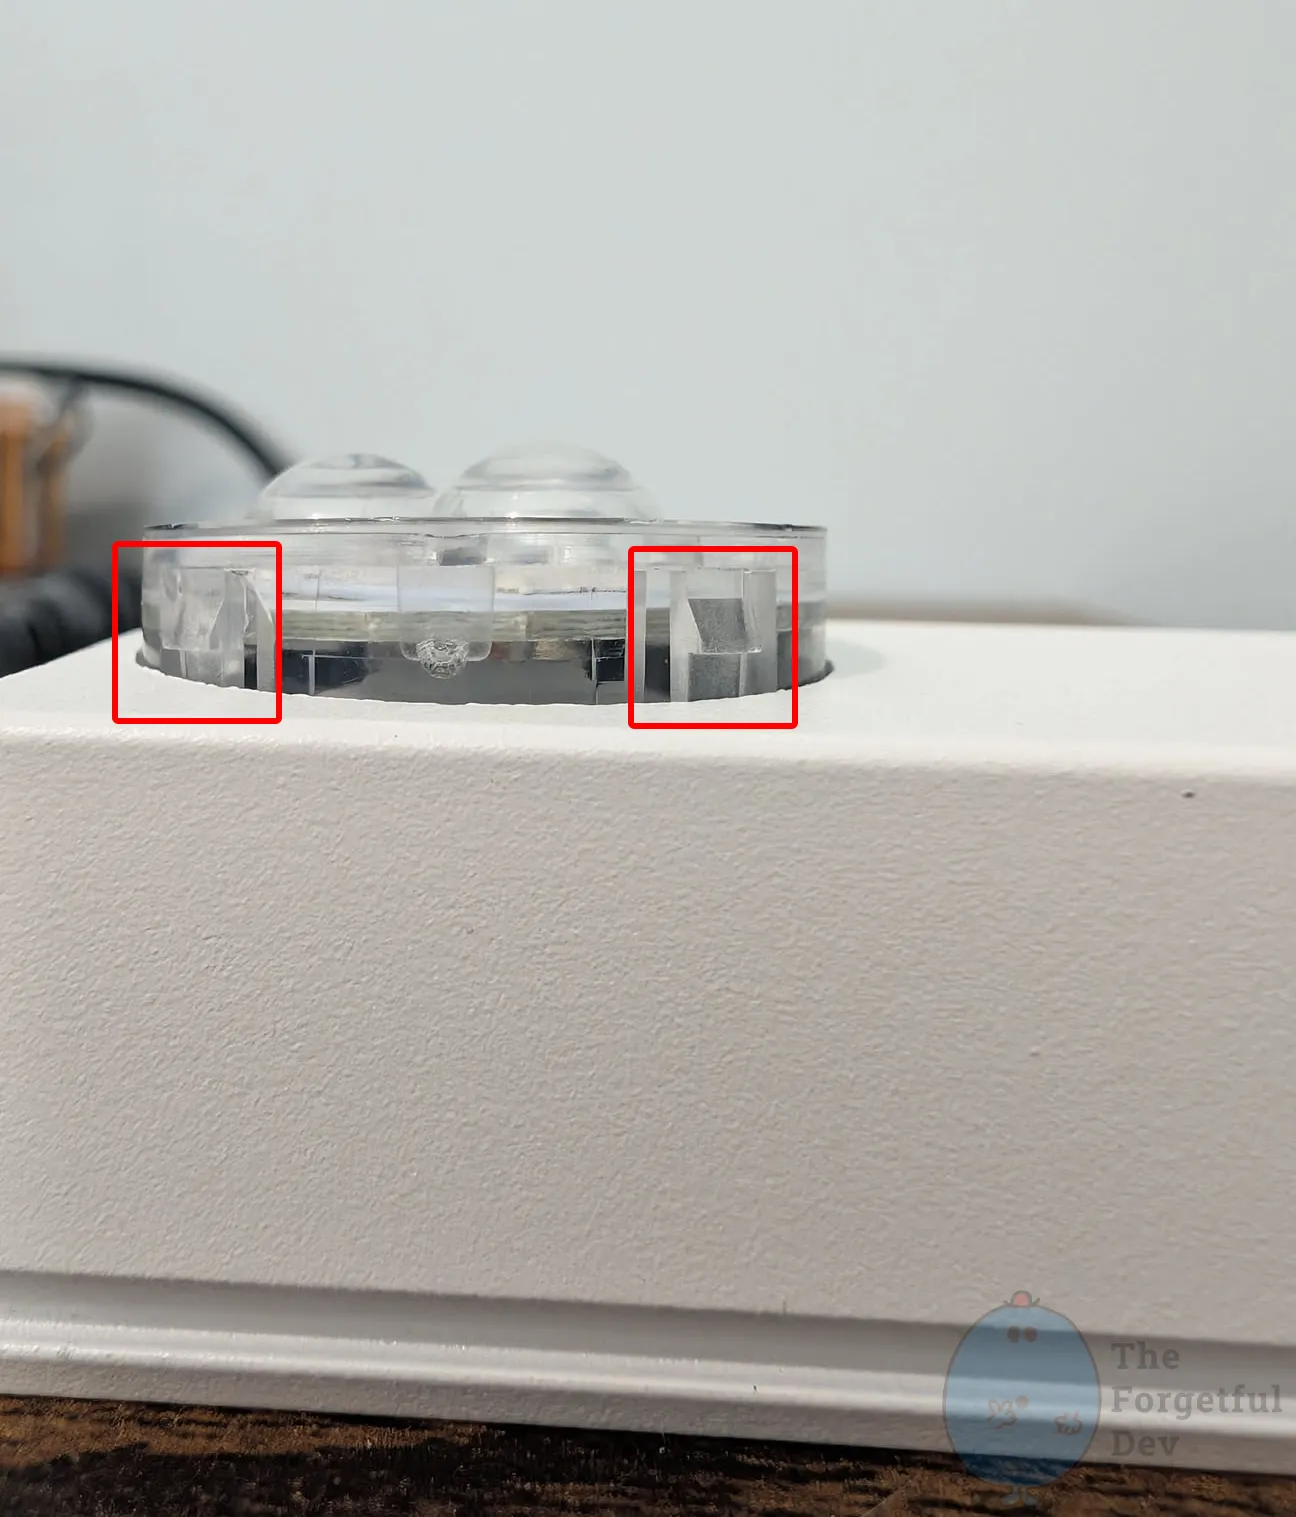
You’ll feel and hear a solid snap when it seats correctly. Once installed, they’re extremely secure and can’t be removed without pushing in the clips.
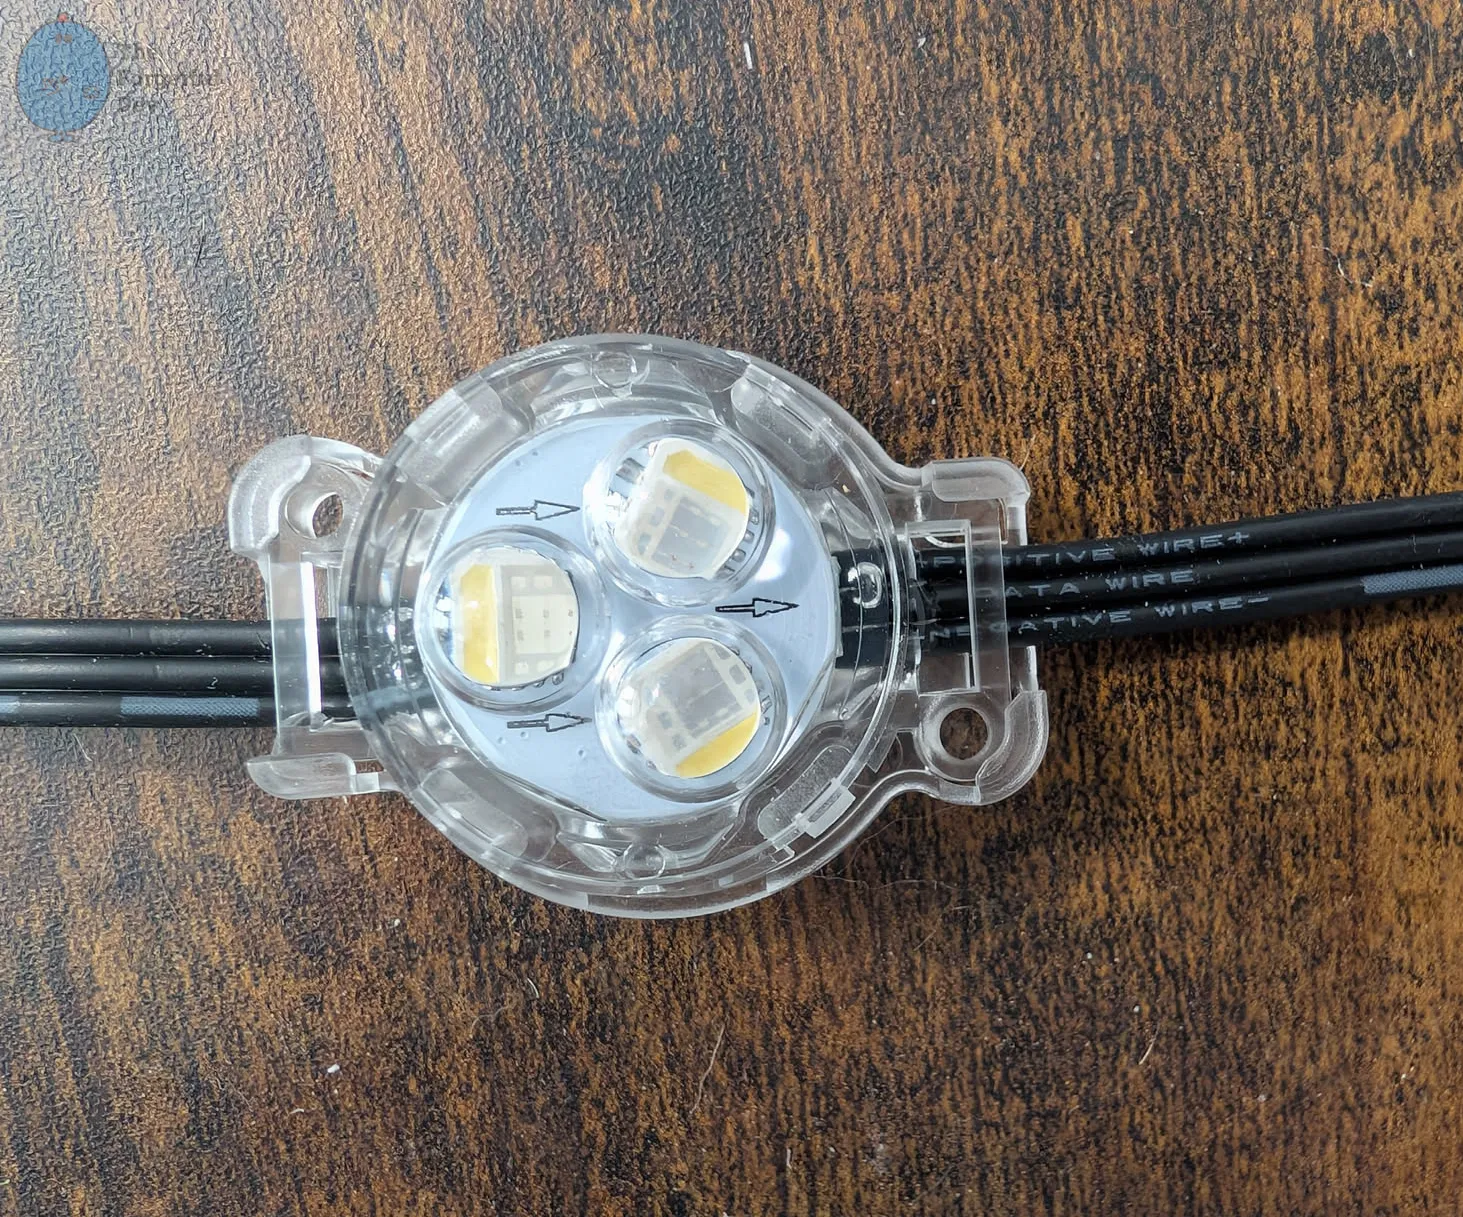
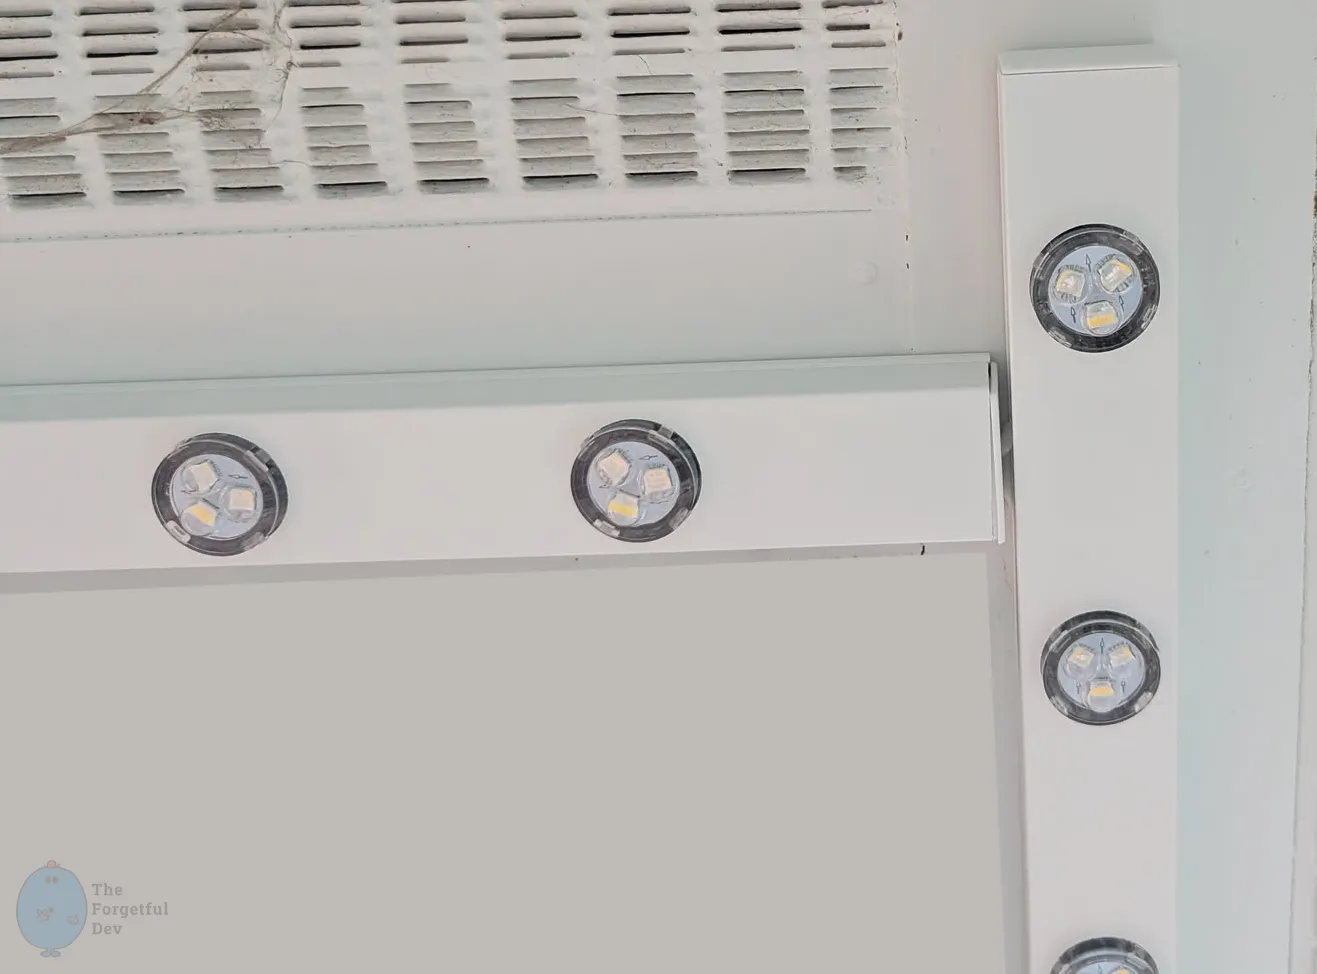
If you’ve used digital LEDs at all before then you’ll know this already, but the direction you’re running everything does matter. If you look closely at the pucks you’ll see arrows. That arrow should be pointed towards the end of the string. Meaning it should point away from the start of the segment.
If you do butt joints in corners like I did then you’ll need a way to route the wire through the side of the puck track.
It was hard to decide if this should be in here, in wiring-the-lights, or one of the other places it could fit. I settled on putting it here, but referencing it elsewhere.
On the side of the corner where the wire needs to exit:

This gives you a path to feed the cable out and into the next track without pinching it when the puck track snaps on.
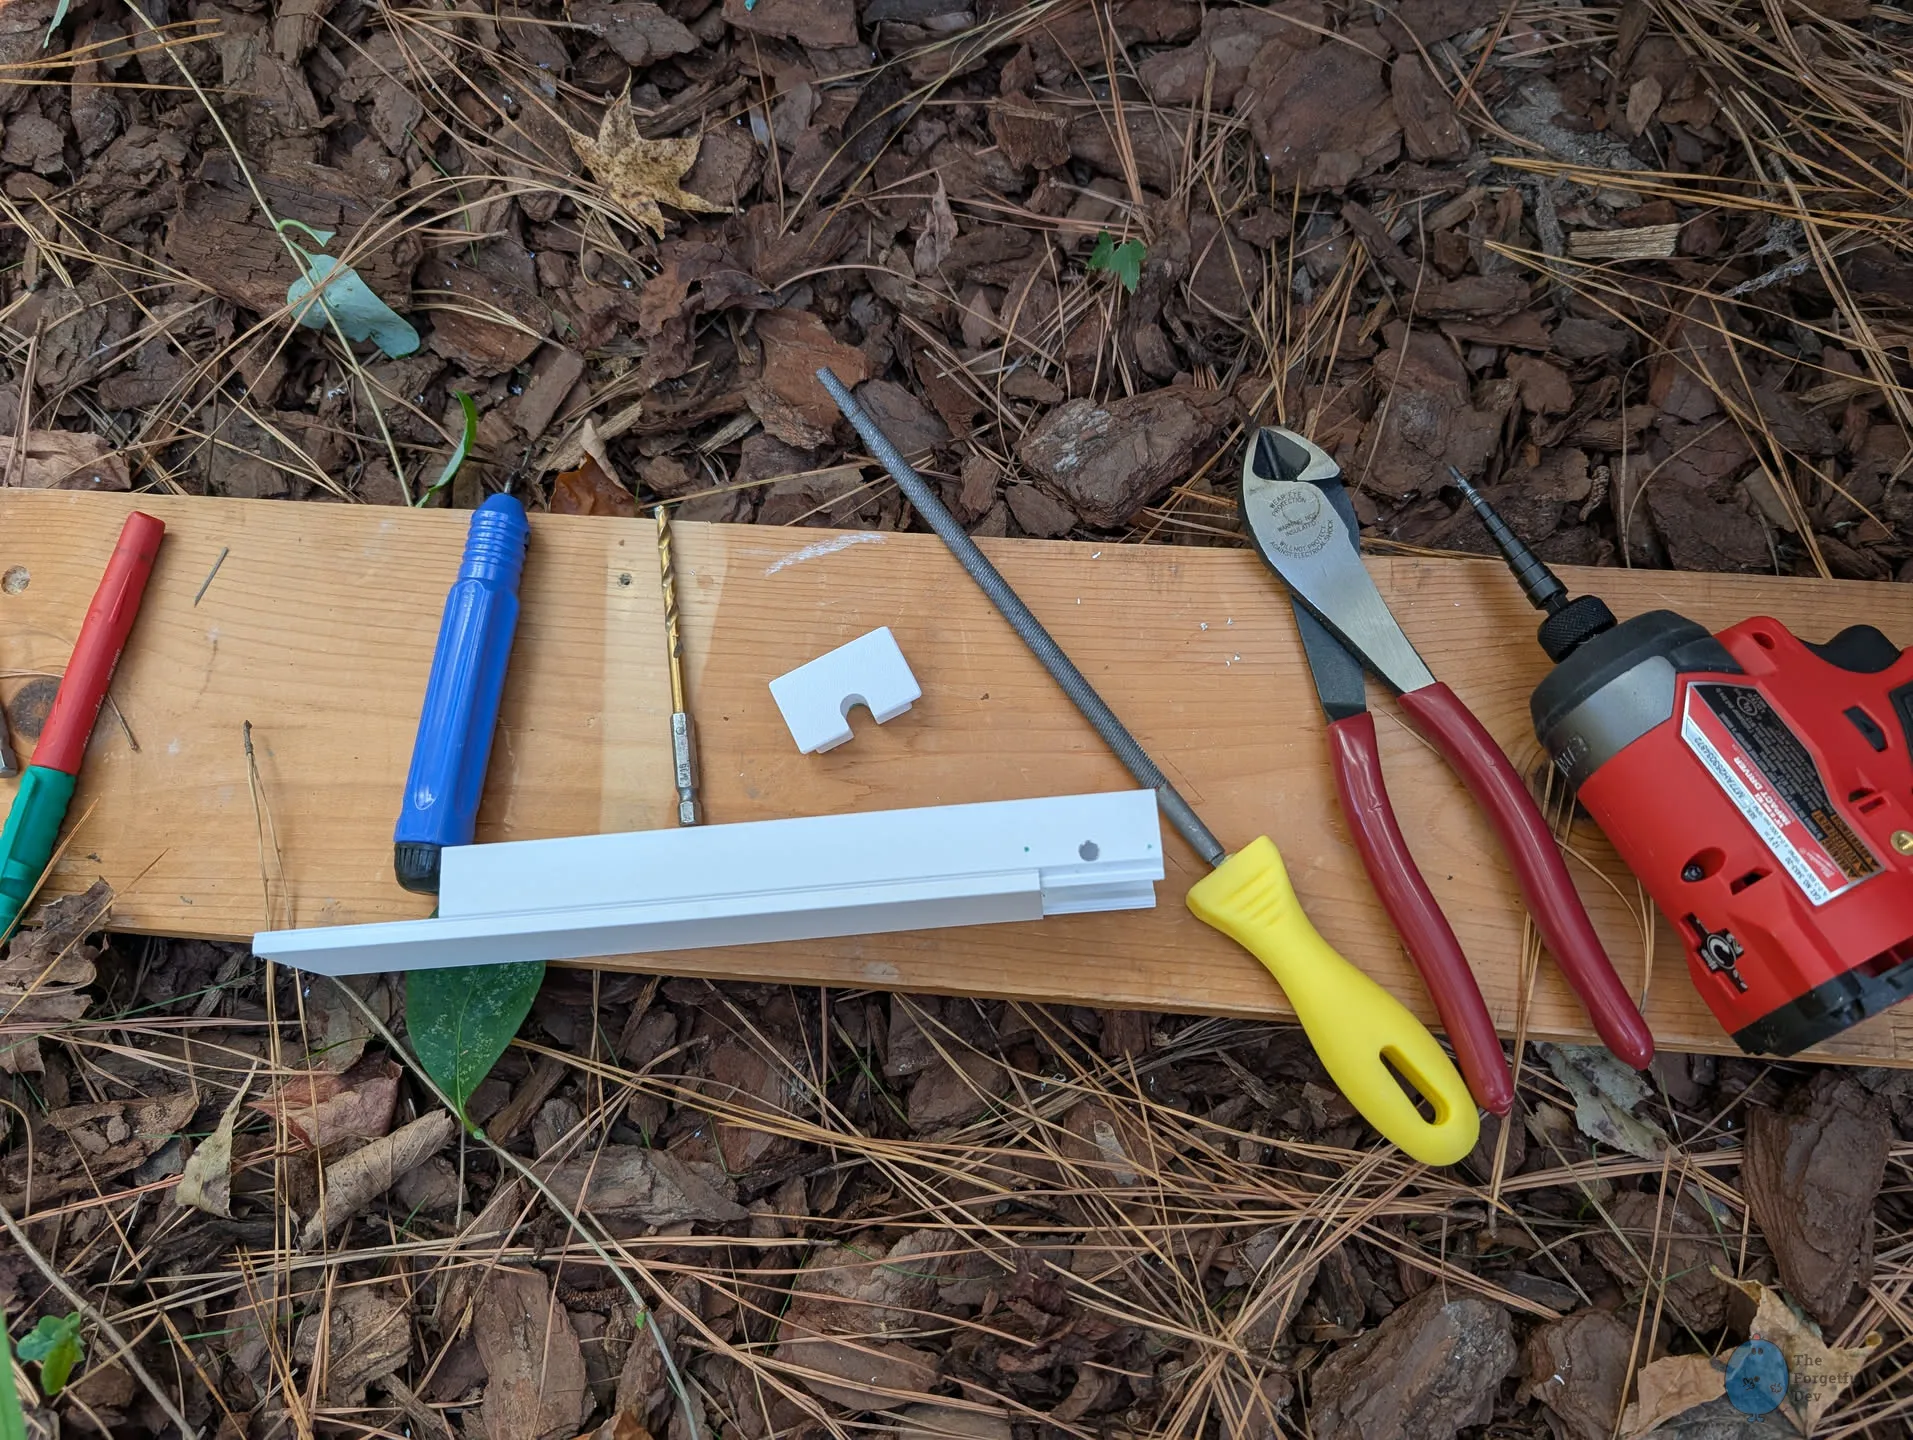
If you need to remove a puck after it’s installed in the puck track:
When you’re looking at a big pile of LEDs and puck tracks, it’s very tempting to sit there and snap all the pucks in. Partially because it feels like you’ll be saving yourself time later, but also because they kind of feel like popping giant bubble wrap and that’s literally always fun. But in this case I recommend not doing it until you’re actually installing that track.
There’s a few different reasons why…
It may feel slower at first, but it’s faster overall. Having to remove pucks from the track isn’t hard, but it’s time consuming and really annoying.
If you’ve had to cut a string to customize it some way, it’s better to find out now that it doesn’t work rather than after you’ve installed it. It may help prevent you from having to undo a bunch of work, but it could also prevent you from doing real damage to the rest of the system if you’ve accidentally wired something wrong.
I recommend using the smaller PSU and test controller mentioned early in this guide if you got them. Not only will it prevent you from doing damage to your real system, but it’s typically just easier.
Some of my pucks had a little leftover glue or residue on them from the factory. That made them a tight fit in the track holes. Most of the time I just had to apply a bit more pressure and they’d snap in fine.
I had a few stubborn ones though that simply wouldn’t go in. For those I just had to clean the residue off first. A quick scrape with a fingernail or whatever tool I had on me was enough.
For when you’re having trouble with the puck tracks themselves.
If you’re trying to install a puck track and you simply can’t get it to clip in to the base, the following list should provide assistance. I have listed them in order of most likely to least likely that they are your problem (based on how often I ran in to that particular issue).
If the center of the xConnect is directly on top of a puck, it will prevent you from getting the track in because it’s too tall. This was by far the most common issue I had because the length of cable seems to be just right to cause the connector to land on top of a puck. The easy fix here is to move the connector to a spot between pucks and then snap the track in.
A couple times I was trying to install a track in a place where I couldn’t reach both ends and this issue kept happening. In that case I would use electrical tape to hold the connector in the track where I wanted it.
This is another one that is more likely to happen in a spot where it’s hard to reach or hard to see. It’s an easy one though. Just take a close look at both sides of your track and make sure no wire is sticking out.
If your soffit has a bow and you screwed the base track down too tight, your base track now has a bend in it as well. Loosen the screws and allow it to hang naturally.
I had this happen with exactly 1 base track in my entire kit. Overall it isn’t a big deal, but it was incredibly frustrating because the section where I installed it was very hard to reach. I spent 20 minutes fighting with it thinking I just couldn’t get the right angle on it to install it.
After taking the base track down and comparing it to another one, I finally realized the track itself hadn’t been formed correctly at the factory.