Title here
Summary here
Summary: Locking in track position and your run’s start point sets the tone for the entire installation.
I live on top of a hill, on a cul-de-sac. off a cul-de-sac. The end result is that my house is easily visible from all sides but one. If I was going to run permanent LEDs, I figured I might as well cover all four sides. You absolutely don’t have to – many people only light the front – but the visibility (plus fun animations) made the decision easy for me.
We also use our backyard a lot and I wanted to have lights back there as well.
Where the track physically sits on the soffit determines a surprising amount of the final look. An inch here or there changes how much light spills onto the fascia, the wall, or the ground.
I tested a few positions using my temporary controller and test light string. I didn’t have any actual tracks yet, but you have a few options for testing:
That gave me a realistic sense of the final look and enough confidence to go ahead and order the full kit.
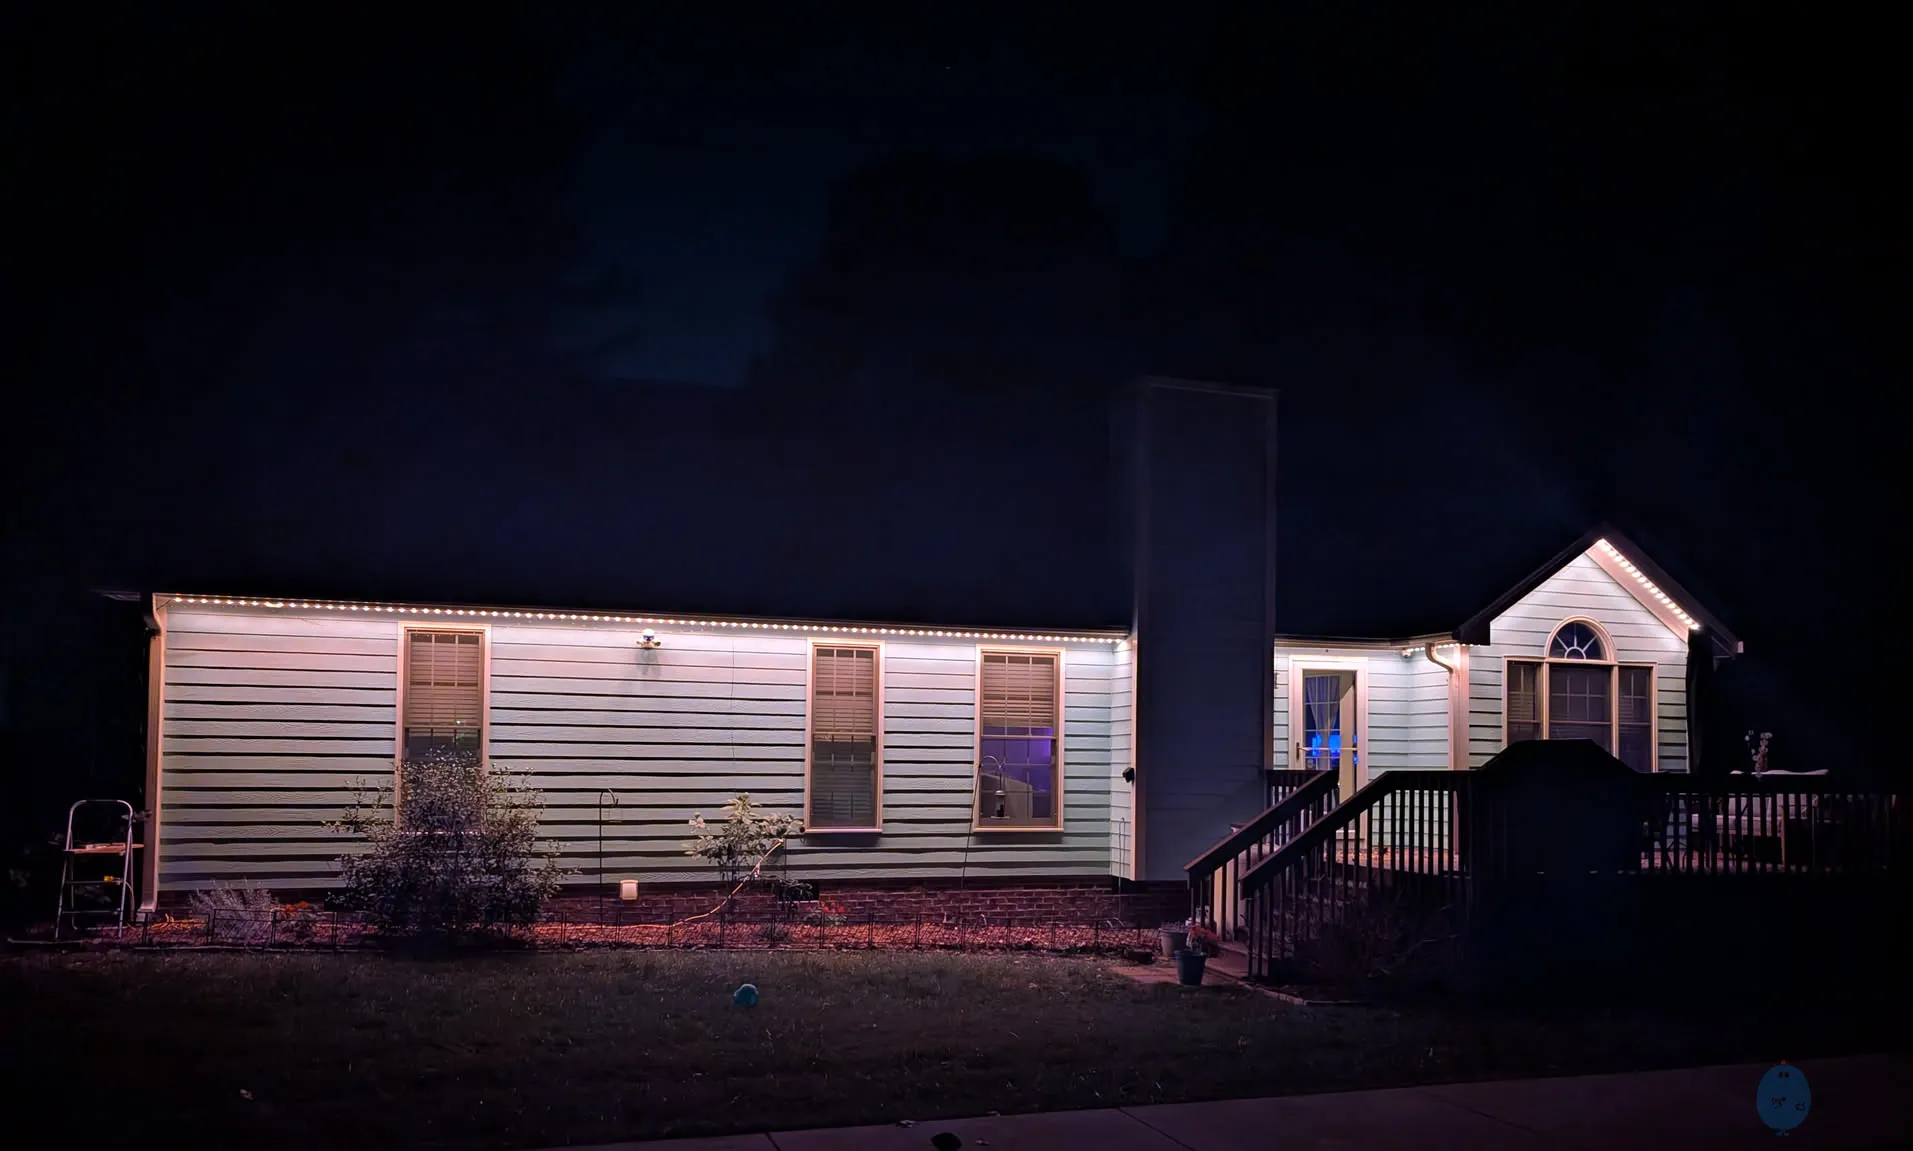
When the tracks arrived, I installed two sections and powered them up again with my temporary controller just to confirm. I left them up for a couple days and checked them from different angles, colors, patterns, and brightness levels.
I ended up placing the track ~20 mm back from the edge of the fascia. Too far forward and the fascia itself blocked things; too far back and the wall got all the glow.
But everyone’s house and taste differ, so pick the location that looks best to you.
Different stretches of soffit will need different tricks. I cover the actual techniques in the installation sections so I won’t go in to that here, but I’m bringing it up here because it’s something you should be thinking about now. You should be making decisions on:
Some areas don’t need LEDs at all, or there is simply no place to put them. For me that was to go around my chimney (I did briefly consider running lights up, over, and down my chimney…), and two areas where I had to jump between peaks thanks to my projecting cross-gable roof design (aka nested gables).
For those areas, I ran a primary wire in to the attic off the end of one string, over to the area where the lights needed to start again, and then came back through the soffit and connected to the start of the next string. It was more work than simply running a cable outside on the roof between the strings, but I knew from the beginning that I wanted to hide the cables as much as possible. Keeping everything clean was important to me.
Again, the install guide goes into the details of making those jumps so I won’t discuss it here, but you should be deciding now:
Track position and your chosen start points shape everything that follows.
