Title here
Summary here
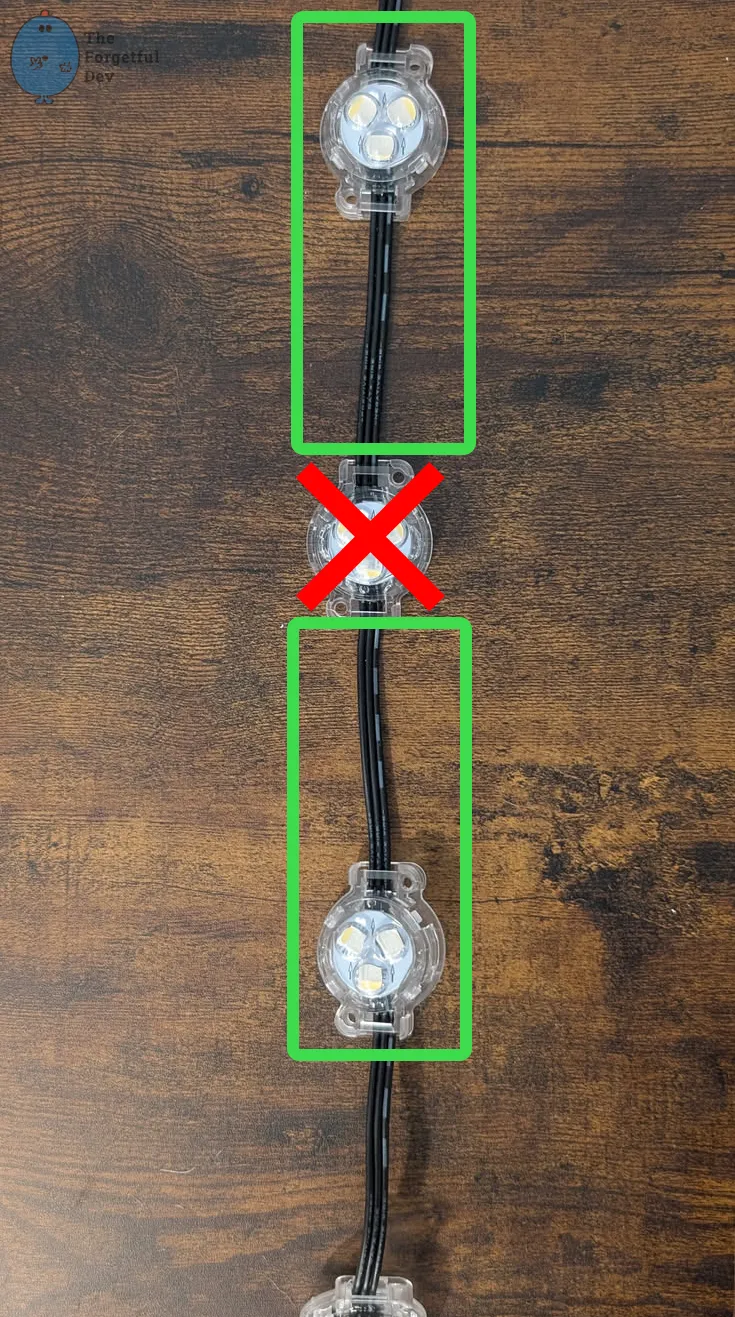
Summary: A wire that technically reaches is often still too short.
When your tracks change direction, the short length of cable between pucks will probably be too short to reach into the next track section if you were in the middle of a strand.

The spacing between each puck on a string provides a little bit of slack, but not much. From the picture you may think that the space between 2 pucks on the same track are basically the same distance apart as the space between the puck at the end of the 🔵 blue track and the first puck on the 🟡 yellow track, but it isn’t.
In most cases there just isn’t enough slack to make that turn and still be able to clip the puck in to the cutout.
In this case I probably could have cut a bit more off the left end of the 🟡 yellow track and made it work, but you won’t always have that option. It also isn’t always worth even trying. Having minimal slack makes the install super frustrating.
I found it best to just handle this before I even started installing the lights here. In this case I would have cut the lights after the last puck needed for the 🔵 blue track, then spliced that in to another string of lights (more on that process later) which will go in the 🟡 yellow track. That gives the added wire length needed to reach from one track to the next and have room to work.
But don’t forget that you only have 3 more lights until the next problem…

This is a different angle of the same section of roof. We can now see the vertical track we transition to (🟠 orange track) and the 🟢 green track going up the peak at an angle.
The transition from 🔵 blue track to 🟠 orange track requires something different than problem #1. You can’t just crimp 2 sections of lights together because you can’t pass the pucks themselves through the soffit (unless you drill a massive hole I suppose).
For this transition there are two main options:
I did a mix of both of those just depending on the space I was in.
At the beginning of the install I was doing #2 (hardwiring both sides) more often because I wasn’t sure how many pigtails I’d need for the whole house. I figured I was having to cut and splice wires no matter what so if I had to replace it, I would just cut and splice some more.
Towards the end of the install I was doing #1 (xConnect on both sides) more often. Aside from picking the best option based on the spot I was in, I switched it up for a couple reasons:


