Title here
Summary here
Summary:
The Banana Pi runs klipper which (to simplify things) is your 3d printer’s firmware. It reads gcode and passes it along to the printer control board (the SKR Pico). In this step we’ll not only install klipper, but also moonraker and fluidd which are used for being able to remotely manage klipper and your printer.
The last step in my armbian guide had you shutdown the BPi. That’s because we need to move the power cable from the OTG USB port (the one closer to the middle) to the power-only USB port (the one closest to the side). You can still plug the cable in to your computer for power, but if you have a quality USB wall plug, I would recommend using that instead.
Plug power in and wait until the red light is flashing to proceed.
ssh klipper@192.168.1.120 (but replace my IP with yours)klipper user and you should find yourself at a familiar prompt that says klipper@bananapim2zero:~$KIAUH (Klipper Installation And Update Helper) is a script that assists you in installing Klipper. It’s the easiest method to get things going.
git clone https://github.com/th33xitus/kiauh.git to copy the KIAUH repo to your BPi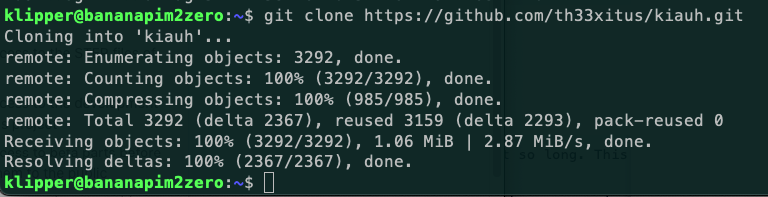
./kiauh/kiauh.sh to start the install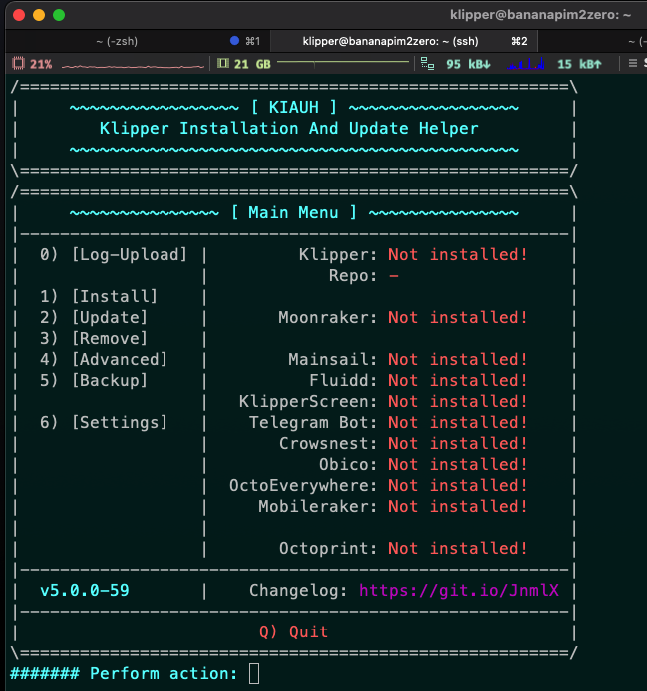
1 and hit enter for the install menuklipper user password. Type it and hit enter.1 and hit enter to install Klipper itself1 and hit enter to select Python 3.x as the Python version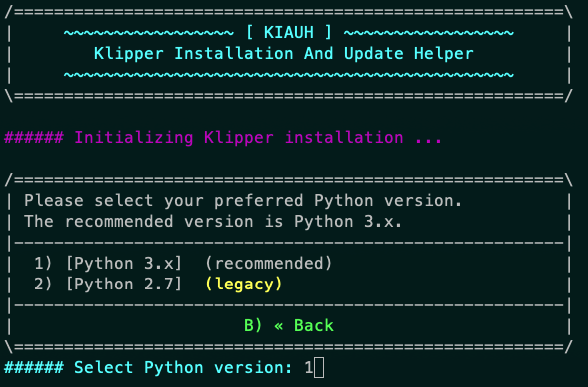
1 and hit enter to indicate you only want one instance of Klipper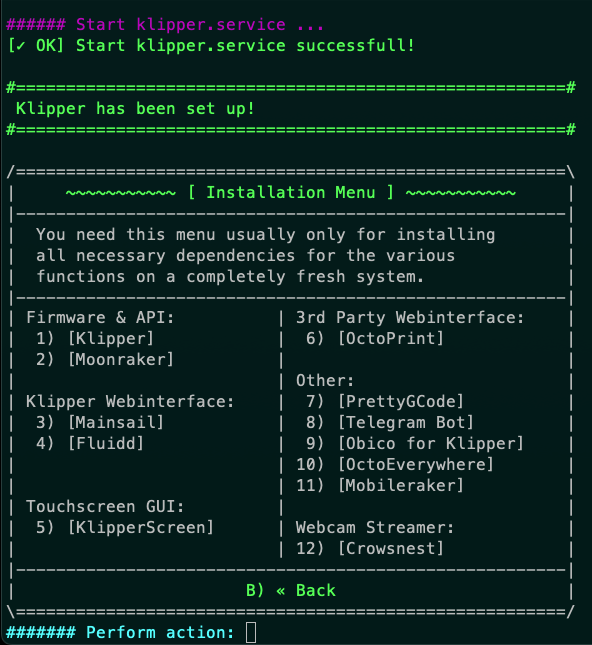
Klipper on its own just runs locally on the BPi and doesn’t give you the ability to manage or control it remotely. Moonraker is a web server that exposes APIs so you (or more practically, your slicer) can interact with Klipper. Note that this is different from a web UI like mainsail or fluidd which we’ll also be installing. But those UIs also rely on Moonraker.
2 for Moonraker and hit enterY and hit enter.
Moonraker has been set up! and be returned to the install menuWelcome to Moonraker. You can’t actually do anything further from that page, but it’s nice to see.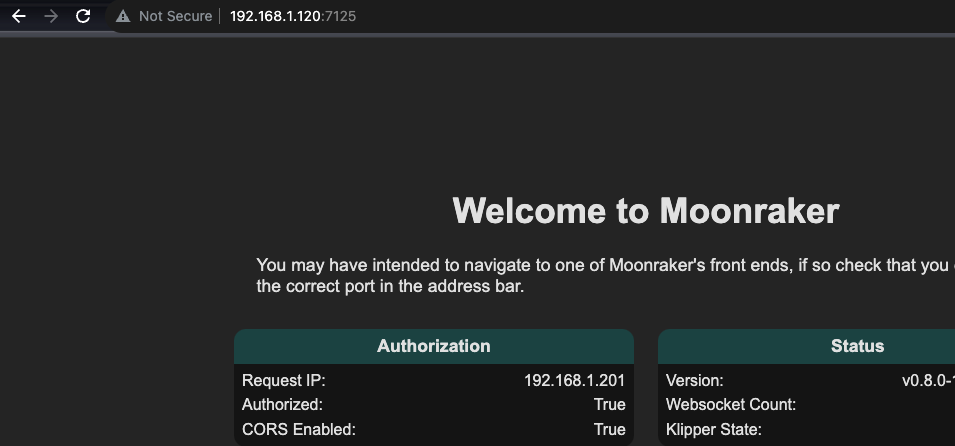
Fluidd or mainsail are two very popular options that provide a user interface to Klipper. They are forks of the same software, work nearly the same, and if you understand one then you’ll understand the other. I personally use mainsail on one of my printers and fluidd in another. I maybe like fluidd better but they’re so similar that it really doesn’t matter. Matt install fluidd in his video so I’m going to stick with that just to keep things consistent.
4 and hit enter to install FluiddY and hit enter.Fluidd has been set up! at the top and you should be back at the install menu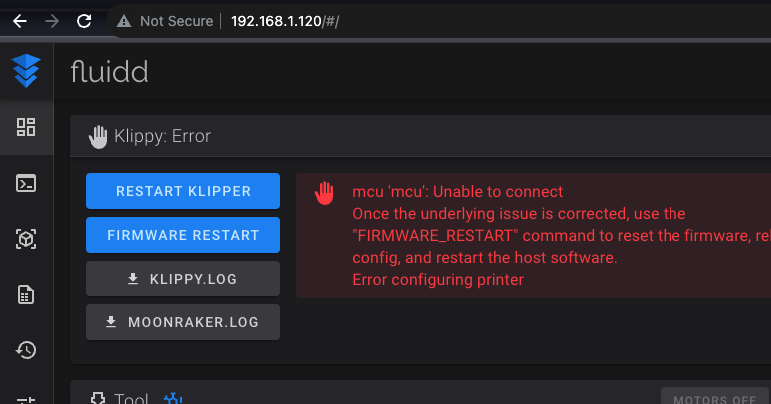
B and hit enter to go backklipper@bananapim2zero:~$ prompt before continuingThe software needed to run input shaper isn’t installed by default. We will install them manually.
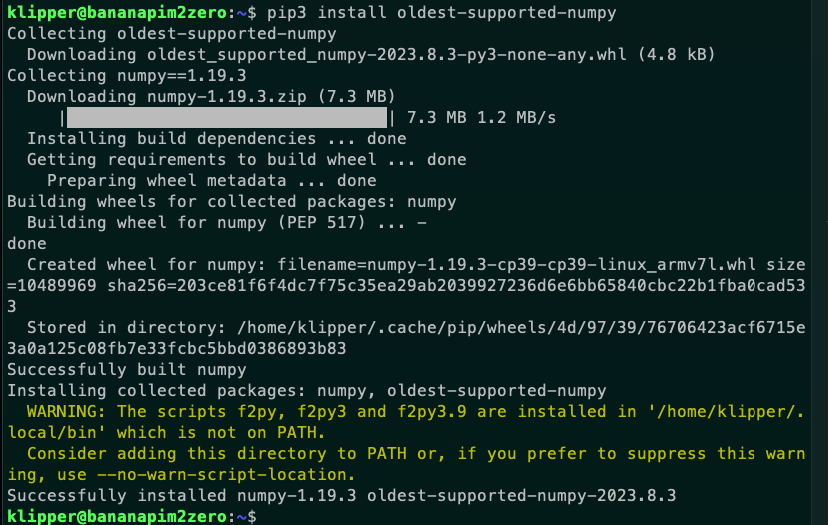
klipper@bananapim2zero:~$ promptsudo apt install python3-numpy python3-matplotlib libatlas-base-dev -y and hit enterpip3 install oldest-supported-numpy