Then you should watch Matt’s video for building the toolhead. This guide will simply function as a supplement to that video.
Notes on the video
The build video for the toolhead is great and covers all steps well.
Tips
There are various qualities of drylins, and how they work with your linear rods will vary. I bought some that were so tight I could barely move them, and others that were super smooth but a bit loose. In the end I actually switched from drylins to linear bearings as I didn’t mind the sound difference and they just worked better for me.
A nice step to prep your linear rods is to clean them off with alcohol and then use melamine foam (aka magic eraser) and give it a nice quick buff, followed by another wipe down with alcohol. I could barely tell any difference in how smooth the rod was, but I immediately had smoother movements after doing this to all my linear rods.
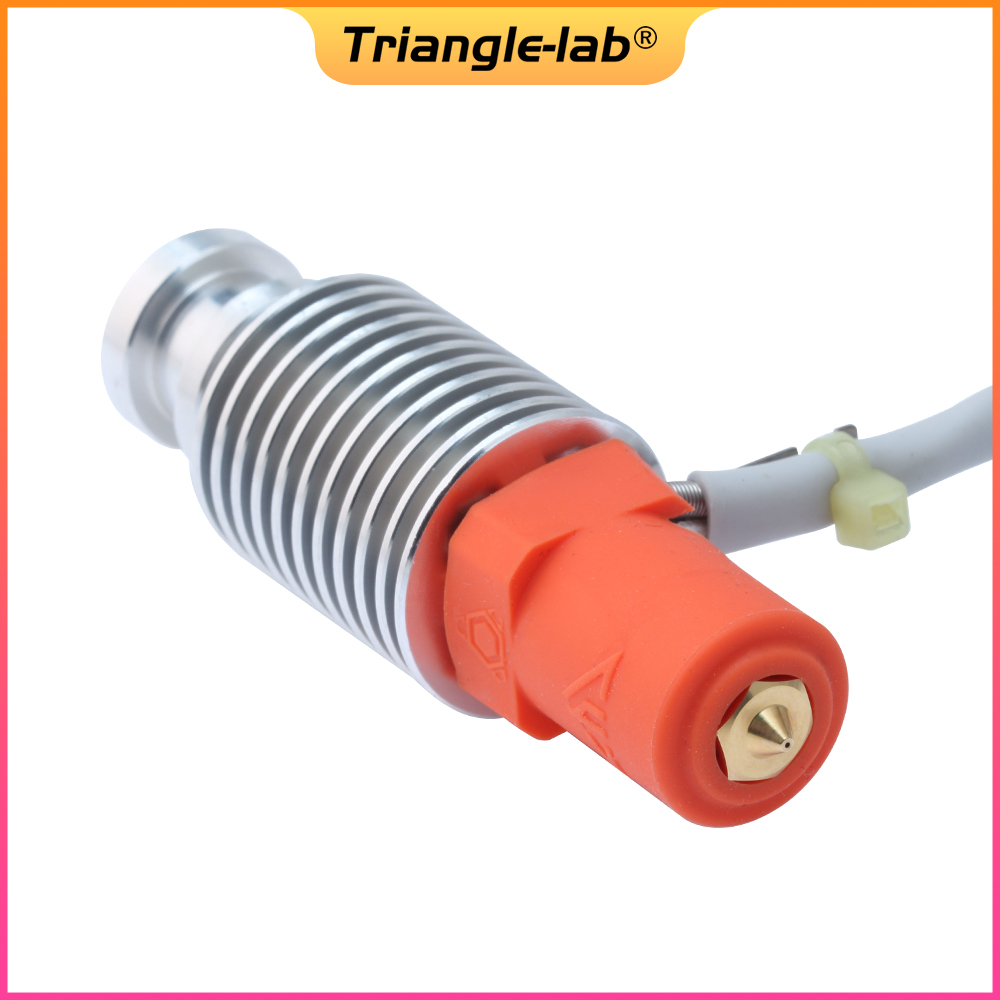
If you haven’t built a hot end before (heatsink + heat break + nozzle + nozzle adapter in some cases) then you may run in to issues like I did. It seems like a straightforward process but because I screwed the heat break in first, my nozzle ended up sticking out too far. I didn’t realize something was wrong or that this was a problem until I kept getting clogs. This was caused by the heater being too far away from the nozzle. I would suggest putting the nozzle in first so you can get it to the right position (slightly below, but not actually touching, the ceramic heater), then the heatbreak and heatsink. Once you put the orange silicone sock on, the sock should be wrapped around the hex-shape of the nozzle with just the cone shaped tip coming out. If have a lot more sticking out then your nozzle is probably too low. It should go without saying but you need to make sure the heat break is screwed in enough to touch the nozzle.
Don’t expect this to be the last time you build the toolhead. It will need taken apart to change nozzles, to deal with clogs, to replace your ptfe tube, etc, etc. I think I probably took mine apart at least 10-15 times during the tuning phase. It’s annoying at first, but you get faster at it and then it starts to feel like a Formula 1 pit stop.
Fastener locations
The viewer below allows you to view the different parts and has them highlighted with different colors to indicate where various fasteners go.
Use the dropdown above the viewer to change between models.
🟢 indicates a screw (only highlighted where the screw head is visible) 🔵 indicates a nut 🔴 indicates a heat insert