Title here
Summary here
I had a work laptop that I was required to have Windows 10 on, but I like using Ubuntu as my daily driver; especially when I’m working away from my desk. I actually really like Windows 10 but I usually have to run a number of different VMs and such when I’m developing. As such, I prefer to just use Ubuntu where everything runs natively so I can save battery while traveling.
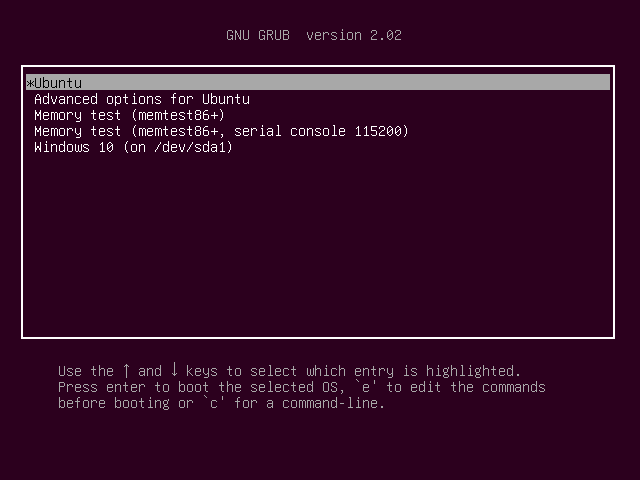
When dual-booting Ubuntu and Windows 10, the Ubuntu installer will setup the GRUB bootloader so that you can choose between loading Ubuntu or Windows at boot time.
When it came time to turn the laptop back in to work I needed to remove GRUB, all of the Ubuntu partitions, and set it back to how it used to be. I also needed to return the now-unused partitions back to Windows to that it could use all the space the drive had available.
The first step is removing the GRUB bootloader so that your computer boots straight to Windows 10 and doesn’t show you the usual screen.
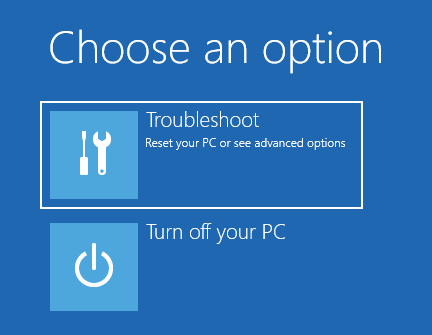
In theory this is done by booting your computer in to the Windows recovery console by booting in to Windows and then restarting your computer while holding the Shift key. This brings up a menu where you can select Troubleshoot > Command Prompt.

Your computer will then reboot and you’ll be shown a command prompt. Unfortunately in my case this didn’t work at all. Each time I tried I would see the GRUB loader, select Windows, and then my laptop would lock up and wouldn’t boot further until I powered it off and back on. If you get lucky and yours boots as expected then you can skip creating your media and jump to FixMBR.
The easiest way to solve this is to create a bootable USB (or DVD) using the free Windows 10 installation media creator provided by Microsoft. Just follow the instructions on that page to create your media, then boot your computer from the created media. We’re only using this to get to the recovery console; you don’t need a license key or anything to make the install media.
After booting your computer from the install media you just created you’ll simply select: Next > Repair your computer > Troubleshoot > Command Prompt
You’ll now be looking at a command prompt within Windows Recovery. Our goal here is to rebuild the MBR (Master Boot Record) so that your computer uses the Windows bootloader rather than the GRUB bootloader. This is done with one easy command.
Type bootrec /fixmbr and hit enter. You should see a message that the operation completed successfully.
Close the command prompt and select Continue to reboot your computer.
Your computer should now reboot directly in to Windows without showing the GRUB loader. Yay! If you don’t need to reclaim the space that Ubuntu was taking up, you can stop here.
Your computer is no longer booting in to Ubuntu, however your harddrive is still partitioned for it and it still has all of Ubuntu’s data. It’s necessary to remove those partitions and extend the size of your Windows partition in order to get that space back.
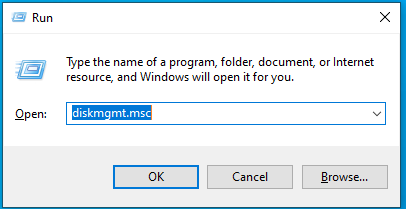
Start > Run > diskmgmt.msc
Depending on your setup, you may get a UAC prompt. Allow it.
This will display a list of your harddrives and partitions.
This is written with the assumption that you only have 1 physical harddrive and no special partitions. Doing something wrong here can and will result in data loss. Be careful.
Prior to installing Ubuntu, your partition layout would look similar to this:
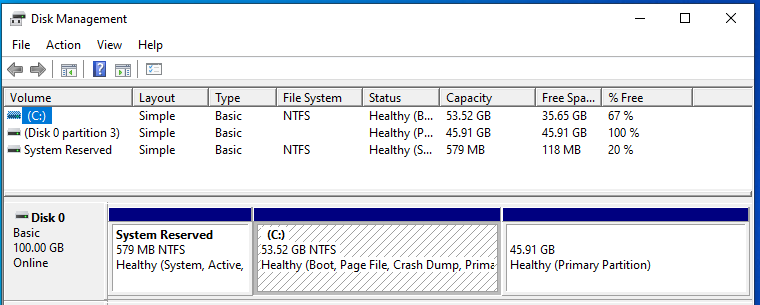
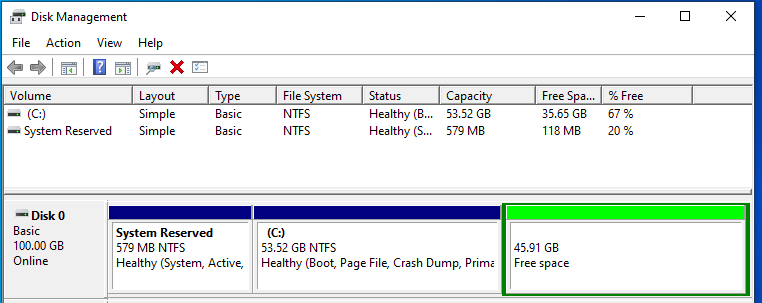
After Ubuntu resized your partitions and created its own, it should look like this:
The blocks next to Disk 0 show you how the partitions are laid out on your harddrive, from beginning to end. System Reserved is there for Windows and shouldn’t be deleted. C: is your actual Windows partition and is the one that we’re wanting to extend to regain our harddrive space. The one with no name at the end, labeled Disk 0 partition 3 at the top, is Ubuntu.
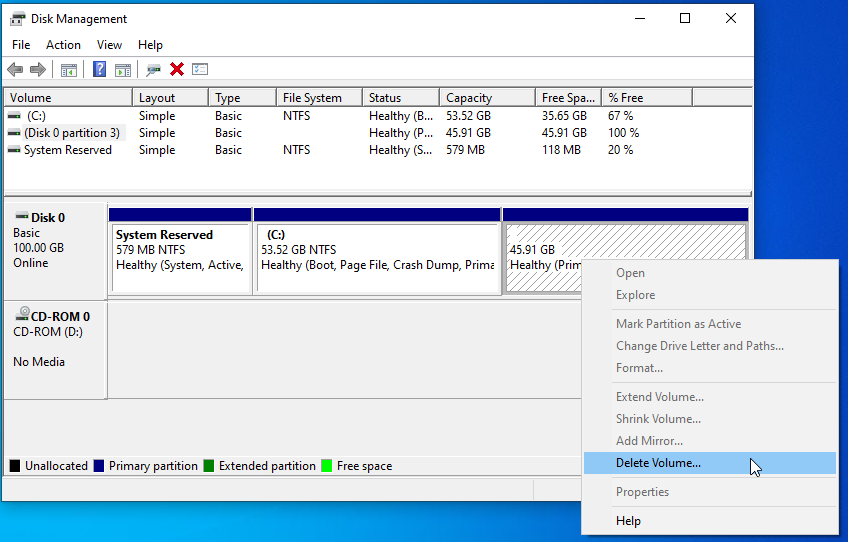
Right click on the Ubuntu partition and select `Delete Volume…'
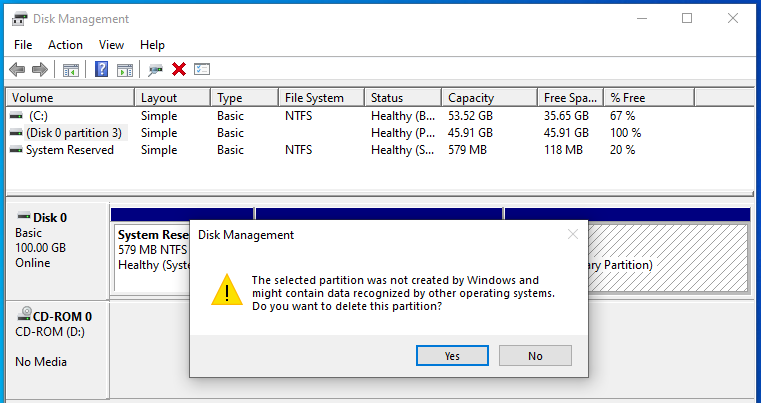
You will receive a notification that this partition was not created by Windows and might contain data. Select Yes to indicate that you want to delete this volume.
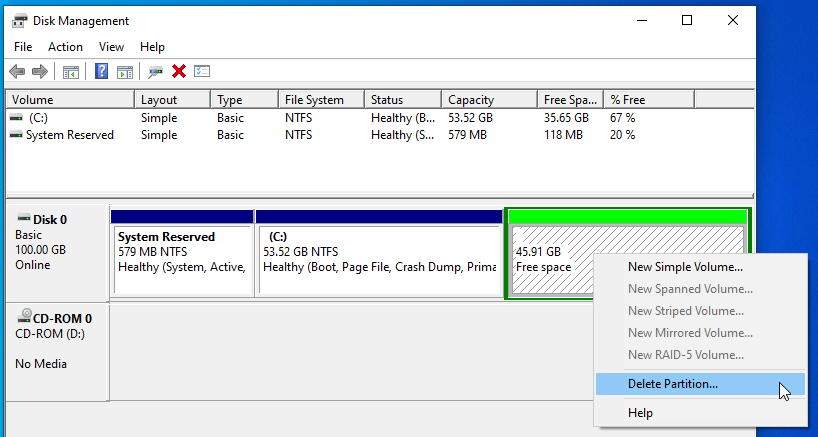
It will now remove that volume from the list at the top, and will highlight the old volume in green and indicate that it’s free space.
Right click on the free space volume and select `Delete Partition…'
You will see a warning that this is an extended partition and will become inaccessible if deleted. Select Yes to delete the partition.
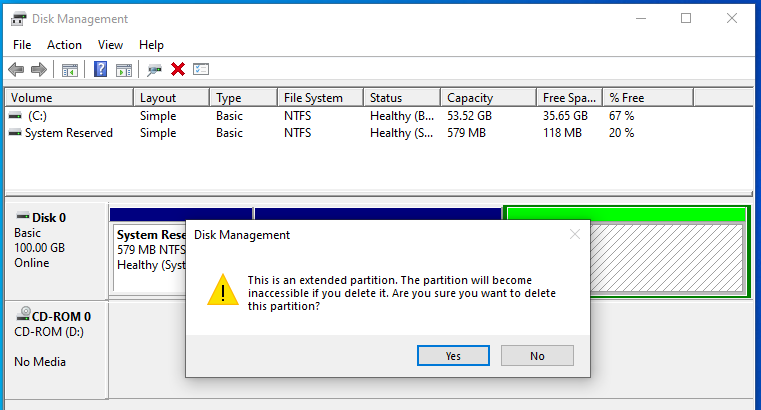
It will remove that partition and will now show it in black and label it was unallocated.
That space is now free to be used however it isn’t part of your Windows partition yet. Notice our C: drive is still only 53.5GB total.
Right click on the C: volume and select Extend Volume...
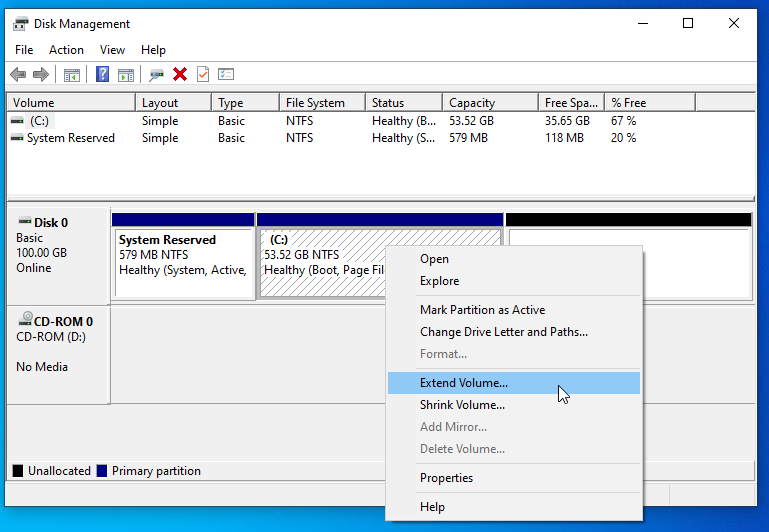
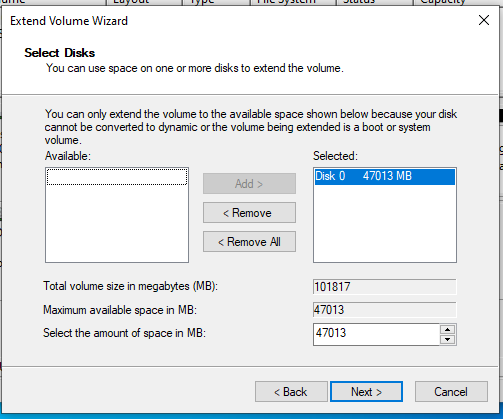
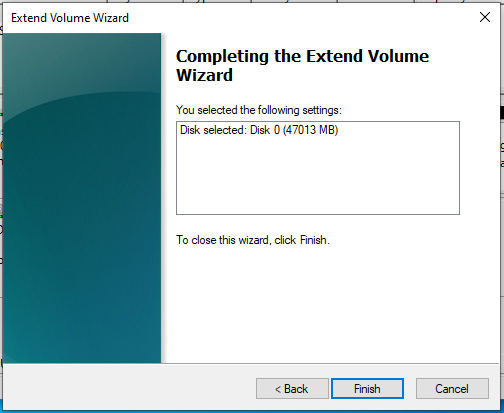
Click Next to begin the wizard, leave all the settings at their default to use the full amount of space and click Next, then click Finish to actually extend the volume.
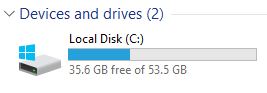
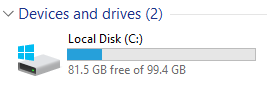
Your C: drive is now using all the space that Ubuntu had previously been taking up. You can verify this by verifying that your free space has increasesd. I previously had 53.5GB total usable space and I now have 99.4GB.
I recommend rebooting your computer now to verify it still boots and everything works as expected. If it fails to boot, use the Windows Install media you created earlier to perform a startup repair.
You’re all set! Your computer is back to being a Windows-only machine. For better or for worse. But frankly… I actually like Windows 10 a lot.