Title here
Summary here
The Ubiquiti EdgeRouter X (ER-X) is my go-to choice when I need a simple firewall. It’s inexpensive, highly configurable, and provides gigabit speeds to the LAN and WAN. This makes it great for gigabit ISPs like AT&T Gigapower, Google Fiber, and Ting. I’m lucky to live in an area that offers all 3 of these services, and I have used this product on all of them without any issues.
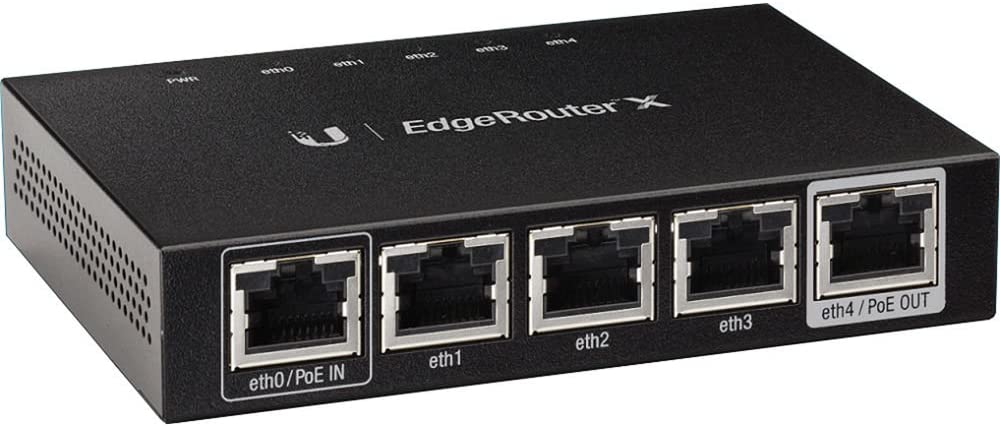

This process starts with my favorite part: breaking the seal on a box and unpacking it. I’ve configured literally hundreds of these and I still get excited when I open a new one. The ER-X comes with the firewall itself, a power cord, and… that’s about it. What do you expect for a $59 business-grade firewall? Just make sure you have your own network cable.
While configuring your ER-X you aren’t going to have internet. Save yourself time by heading to the firmware download page and downloading the newest version now so that you have it on your computer already. The version available as of this writing is v2.0.8-hotfix.1, however I’m actually going to be using the newest v1.x release which is v1.10.11. The reason for that is the current v2 release has a known issue that I consider to be a deal breaker.
Performance - Throughput degradation by 5-10% when comparing with v1.10.9 firmware with older kernelOnce you have the firmware downloaded you can get the device plugged in and powered on. If your computer has wifi then I recommend disconnecting it or putting it in airplane mode to ensure your traffic is routed to the ER-X during setup.
The ER-X won’t assign an IP address to your computer out of the box so you have to configure a static IP on your computer so you can access the WebGUI. After setting your static IP to 192.168.1.2, plug your computer in to eth0, plug the power cord in to the ER-X, and proceed.
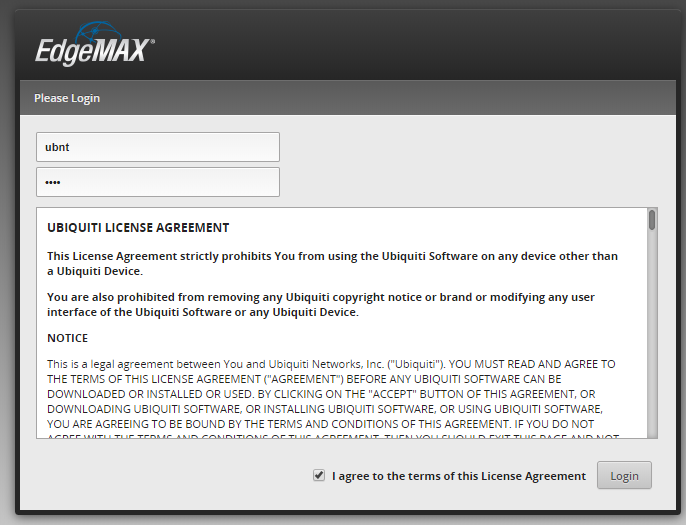
Once the ER-X is booted up you should be able to open a web browser and go to https://192.168.1.1. Initially you’ll receive a warning that your connection is not private. This is due to the lack of an SSL certificate and is ok to ignore. In Chrome you need to click Advanced and then Proceed to 192.168.1.1 (unsafe).
You’ll then see the log on screen. Enter the default login/password of ubnt/ubnt, check the box, and click Login.
You’ll immediately be presented with a pop-up asking if you want to run the basic setup wizard. For now we’re going to say No because we’re going to upgrade the firmware first.
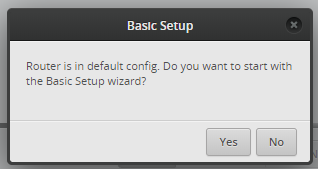
It’s important to start with the newest firmware as this can fix bugs that previously existed in the setup process, and it also ensures you have patched any vulnerabilities before putting the device online.
System tab at the bottomUpgrade System Image and click Upload a File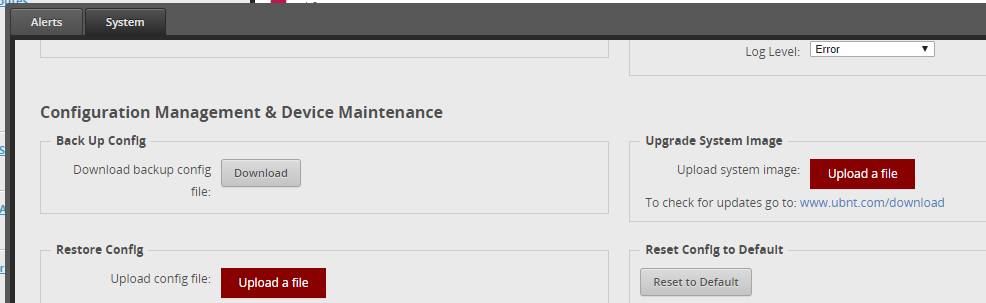

It will take a few minutes for the ER-X to reboot and for you to be able to get back in to the web portal. Once you can, login using the same user/pass as above. Because it isn’t our first time logging in we won’t be prompted to run the wizard like we were last time.
Wizards tab at the top rightBasic Setup on the leftThe default settings are perfect for most setups. Assuming your ISP provides you with some type of modem and you don’t have a static public IP from them, you shouldn’t have to change anything. There are countless different configuration options depending on what your ISP requires or if you want an advanced private network configuration; I am going to assume that 99% of you won’t need to do that so I’m not going to cover all of that here.
The only setting to change here is under User setup. You want to change this so your router isn’t using the default credentials.
Create new admin userubnt user once we do itApplyAt this point the ER-X has DHCP enabled and will be able to hand out IP addresses. Set your computer back to obtain an IP address automatically and move the network cable from eth0 to eth1. Once the ER-X finishes rebooting your computer will be assigned an IP address and you will be able to return to https://192.168.1.1 in your browser. This time you need to login using the username and password you just set in the last step.
If you made it this far then you should be all set! Simply plug your modem in to eth0 on the ER-X, power on your modem, and you should be able to browse out to the internet within a few minutes.